
Appearance
Job Tasks
There are three tasks for Job management:
- Create Job
- Update Job Schedule
- Delete Job
The Job tasks give you the ability to create, update and delete jobs from within an Endpoint instead of manually via the Jobs page. This allows you to automatically create, update or delete jobs as needed.
Create Job
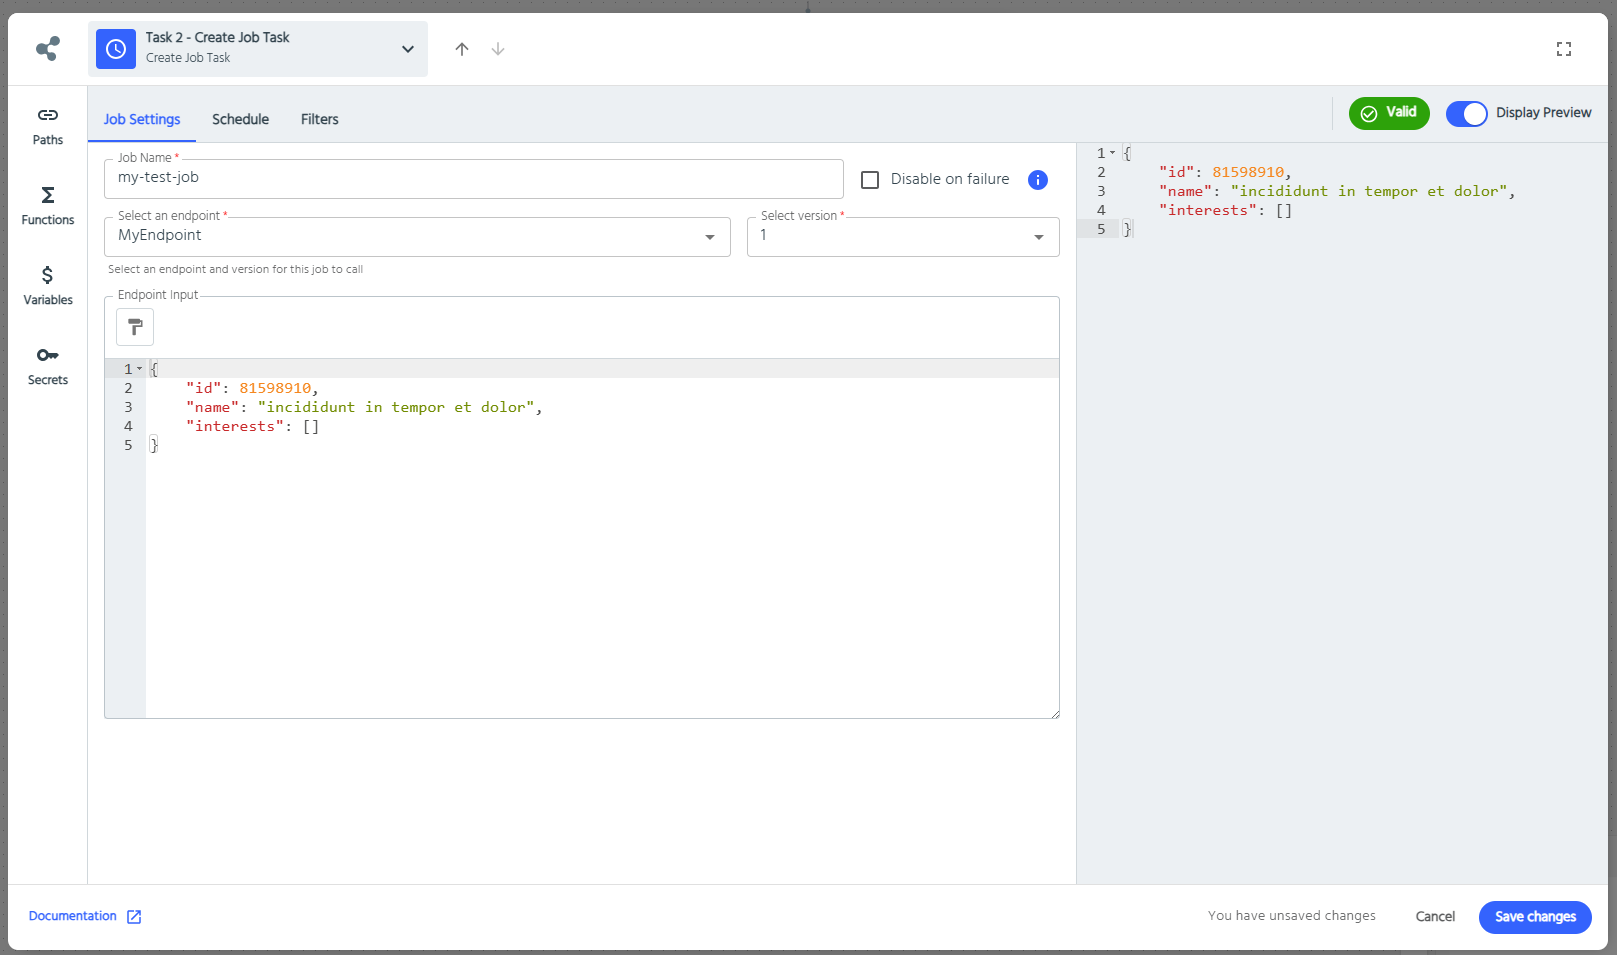
To create a job, ensure Create is the selected option. From here you can name the job, select the endpoint you want to run, what data it should have, and set the schedule. You can also set Disable on failure, to turn the job off if it doesn't work. You can always turn it back on manually later. When defining the job name, you should try and ensure it will be unique. The name and the endpoint data can both accept fields from the context panel.

For setting the schedule, you can either use the visual editor options to set a pattern, or use a cron expression. Cron expressions are in the standard Linux format. For advanced use cases, you can define the schedule using fields from the Context panel as well.
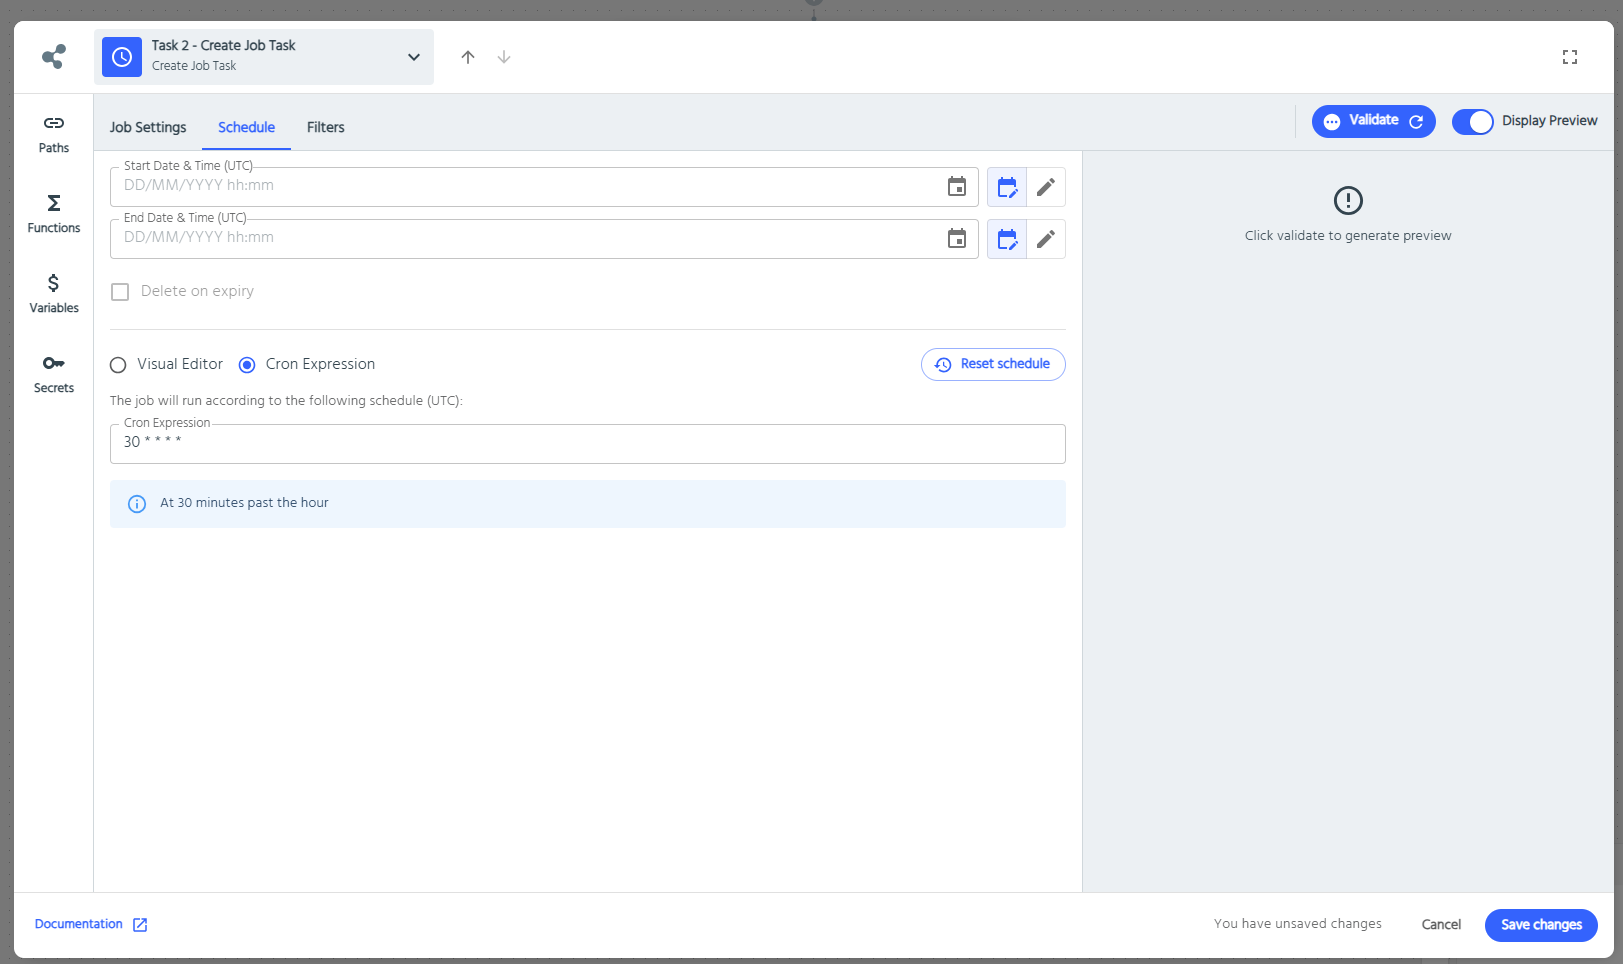
When you're done, click "Save Changes".
Update Job Schedule
To update a job schedule you must specify the name of a job that will already exist when the endpoint runs. Then set the schedule as you would when creating a new job.
Delete Job
To remove a job, choose the Delete Job Task Remove, and enter the job name. Like creating or scheduling a job, this can include data fields from the Context panel, and should be the name of the job you want to delete.